

Shop hours Mon–Sat 10 AM – 5 PM

16-20 Ave. Aguas Buenas, Bayamón · (787) 436-7047

ENES

Gear guides · Underwater photography

Better underwater photos, quick settings.

Starting settings for the cameras most new underwater photographers use, plus the three habits that matter more than any setting.
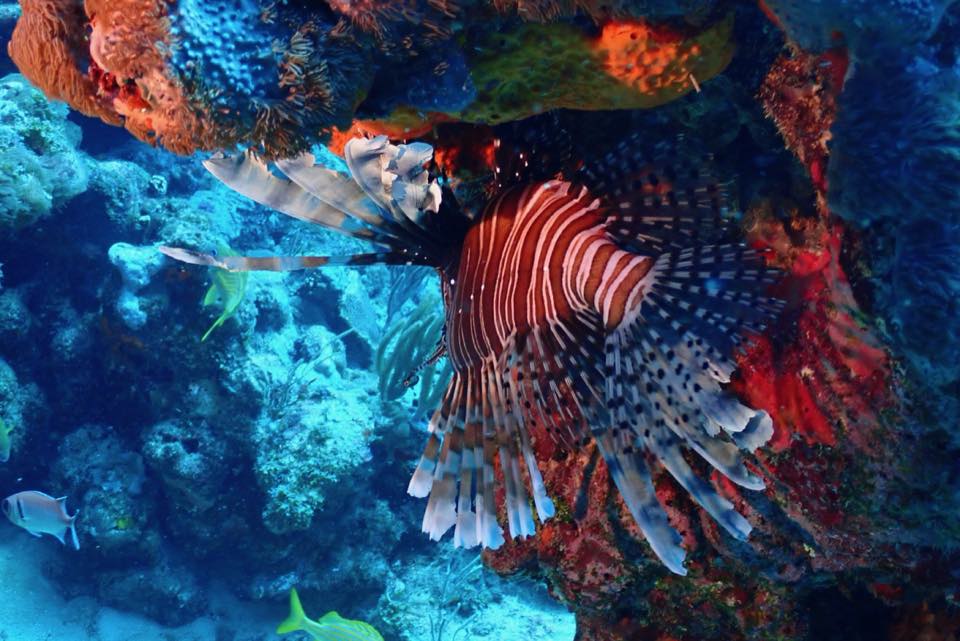
A lionfish over a colorful reef, fins spread
Close, and at the fish’s level. Photo from one of our dives.

Three habits that beat any setting

1

Get close

Water blurs and turns everything blue. Get within about 3 feet of your subject, then closer. If it looks close enough, it isn’t.

2

Shoot slightly up

Get low and aim a little upward, with blue water behind your subject instead of busy reef. Fish at their eye level, not from above.

3

Master your buoyancy

Hovering still is what gets sharp photos, and it keeps your fins off the reef and the sand out of the water. Peak Performance Buoyancy does more for your photos than any camera upgrade.

Starting settings by camera

Starting points, not rules. Check your camera’s manual for exact menu names, and always check its depth rating.
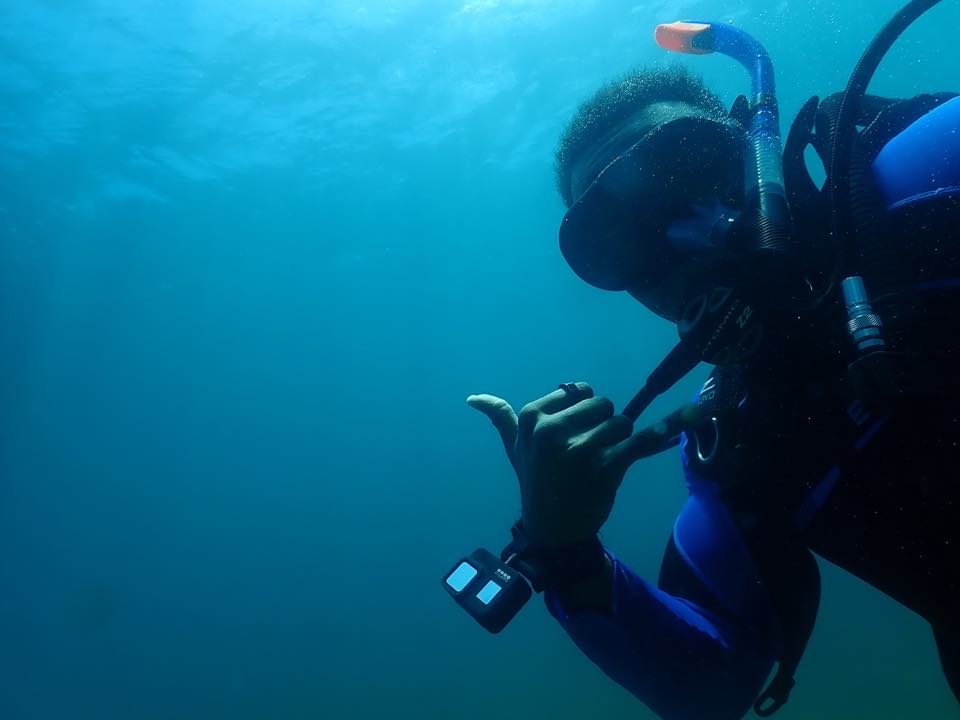
GoPro (HERO12 / HERO13)

Depth
33 ft (10 m) on its own. Use the GoPro Protective Housing to dive to 196 ft (60 m).
Video
4K at 30 fps, or 60 fps for moving subjects. Wide or Linear lens. HyperSmooth on.
Protune
ISO max 800–1600 to keep noise down. Sharpness low. Color Natural (Flat if you edit).
Color
Add a red filter in blue water from about 15 to 60 ft, a magenta filter in green water. Take it off when you’re shallow or using a light.
Photos
Grab stills from your 4K video, or use burst for moving fish.

OM System / Olympus Tough (TG-6, TG-7)

Depth
50 ft (15 m) on its own. The PT-059 housing takes the TG-6 or TG-7 to 147 ft (45 m).
Mode
Turn the dial to the underwater modes: Underwater Wide for reef scenes, Underwater Macro or Microscope for small critters (as close as 1 cm).
White balance
Use the underwater white balance (shallow, mid or deep), or set a custom white balance on a white slate at your depth.
Flash
Only for close subjects, and with the diffuser on. Off for anything farther than about 2 feet.
File
Shoot RAW + JPEG if you ever plan to edit.

SeaLife Micro 3.0

Depth
200 ft (60 m). It’s sealed, so there’s no housing or O-ring to flood.
Mode
Snorkel mode in shallow water, Dive mode deeper, Underwater Light mode when you use a video light.
Color
Pick the color correction for the water: shallow, deep or green. Use manual white balance for the truest color.
Tip
Its big buttons are easy with gloves. Add a SeaLife light for close-ups and night dives.

Insta360 X4 (360°)

Depth
33 ft (10 m) on its own. With the Invisible Dive Case, 164 ft (50 m).
Before you dive
Turn on Dive Case Mode in the camera, or the stitch lines will show. Update the firmware.
Settings
Record at the highest resolution. Hold it out on the invisible selfie stick, a little away from you.
Color
Fix color after the dive with AquaVision in the Insta360 app.

DJI Osmo Action (4 / 5 Pro)

Depth
Action 4: 59 ft (18 m) on its own. Action 5 Pro: 66 ft (20 m) on its own, 196 ft (60 m) in the Waterproof Case. Use a case for scuba.
Video
4K at 30 or 60 fps. RockSteady on.
Starting point
White balance manual around 5500K, ISO max 800. D-Log M only if you color-grade later.
Color
Same filter rules as GoPro: red in blue water, magenta in green, off with lights or in the shallows.

iPhone in a housing

Housing
Never dive a bare phone. Water resistance isn’t made for diving and doesn’t last. Use a dive housing rated for your depth, such as the SeaLife SportDiver (100–130 ft depending on model).
Settings
Flash off. Night mode off. Video 4K at 30 or 60 fps.
Focus
Press and hold on your subject to lock focus and exposure (AE/AF Lock), then slide to adjust brightness.
Close-ups
Use the 0.5× lens for big subjects up close. Avoid digital zoom: move closer instead.

Android in a housing

Housing
Same rule: a dive-rated housing, never a bare phone. Many housings use their own app over Bluetooth for control.
Settings
Flash off. HDR and night modes off. Video 4K at 30 or 60 fps.
Pro mode
If your phone has Pro mode, lock white balance manually and keep ISO as low as the light allows.
Focus
Tap and hold to lock focus and exposure before the fish moves.

Why everything turns blue

Water swallows color as you go down. Red is gone first, within the first 15 feet or so, then orange and yellow. That’s why a red fish looks brown at 40 feet.

  • 0–15 ft: natural light is enough. No filter.
  • 15–60 ft in blue water: a red filter brings back warm colors on action cameras.
  • Green water: use a magenta filter instead.
  • Deeper, or up close: a light brings back real color. Filters can’t add light that isn’t there.

Shoot with the sun behind you on shallow dives, and fix what’s left after the dive with a one-tap color correction in your editing app.
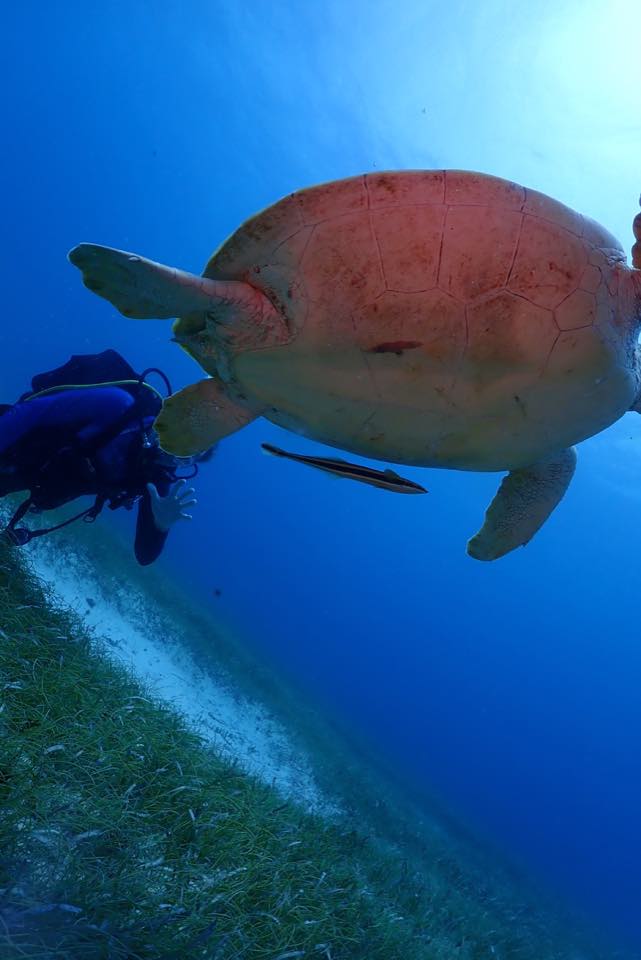
A green sea turtle swimming in clear, shallow water
Shallow water and natural light keep colors true. Photo from one of our dives.
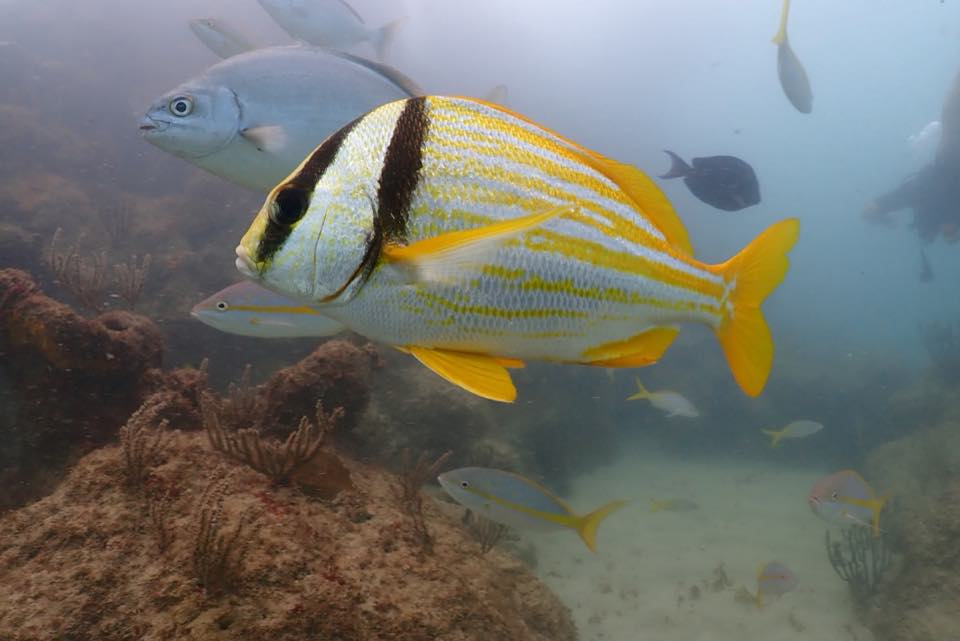
A porkfish close to the camera at eye level
Close and at eye level: the subject fills the frame. Photo from one of our dives.

Lights

  • Video light: a steady light for video and photos. The easiest place to start.
  • Strobe: a flash made for underwater. Brighter and freezes motion, for photos only.
  • Angle them out: point lights slightly outward, not straight at the subject. Straight-on light lights up every particle in the water as white dots (“backscatter”).
  • Built-in flash: usually does more harm than good past 2 feet. Turn it off.

We carry dive lights at the shop, and we can help you choose one for photos or video.

Reef rules for photographers

  • Never touch, kneel or rest your camera on coral. Hover.
  • Don’t chase, corner or move animals for a better shot.
  • Go easy with strobes and lights on sensitive animals like seahorses, and never use them to herd anything.
  • Know your air and depth. No photo is worth a missed safety stop.

Good photos start with good diving. Start with buoyancy.

Peak Performance BuoyancyMarine life in Puerto RicoAll gear guides

Directions Call WhatsApp